Finally, after a long delay, the model has been finished.

As mentioned earlier, I did make a canopy out of one piece. This was a mistake as it took me 3 times to finally get it right.

The nose part was sanded and painted with acrylic spray. I could not find the matching colors to the yellow stripe on the tale, so I did some weathering with charcoal dust.

Overall, this turned out be a great looking little plane.

PaperModelCanada


ANNOUNCMENT: We are taking submissions of your models to be featured on the site. Email pictures and text to dkonovalenko@mail.ru

Here is my current project: Brewster B 239 "Buffalo" from Marek Models converted from 1:50 to 1:33 scale.

This was inspired by conversion of Kampffliger's Morane by Vyacheslav Sokolets from 1:48 to 1:33, the result you can see here: http://paperwings.50megs.com/morko/morko.htm

Basically after spending enormous amount of time doing the conversion in Photoshop and watching it crash after 5 minutes of work, I ended up upgrading my RAM to 1GB.With that and a good tip from Vyacheslav I finally finished the conversion and printed the pages.

After printing all the parts I sprayed them with acrylic Uv protective spray.

This accomplishes two things, first it saturates the paper with protective layer that allows you to wipe out excess glue without leaving any marks on the paper, second it works as a primer and hardener for final spray.

This waythe paper does not stretch over the formers after final application of spray. Since the model had no interior, I borrowed the cockpit details from a scan of Buffalo by Halinski. You can see gray parts on the left.

The second issue is the windows on the bottom of the fuselage, I am still trying to figure out how to make the interior under the pilot's seat. Even Halinski's instructions are not clear.


This models poses a considerable challenge, at least for me. First of all the tale part of fuselage is made from one part. It is hard to shape the form, so I made an impression in artistic clay and used glue and paper strips to form the end of the fuselage. It worked out very well.

I glued a strip of paper around the wing's formers to prevent the stretching of the paper.


Here is the fuselage, as you can see due to the fact that I printed parts at different times, the tail flaps have a different color. I did not realize how different they look until I took the picture. I guess they have to be re done...

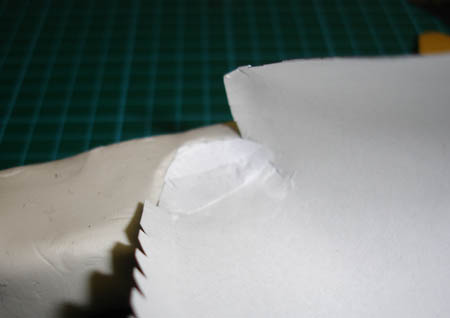
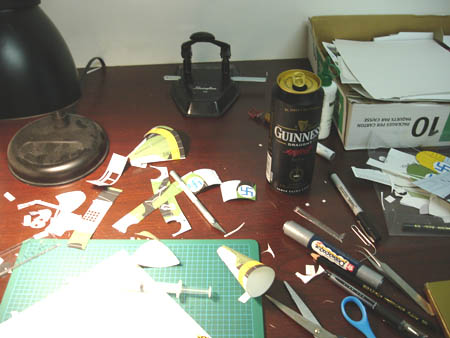
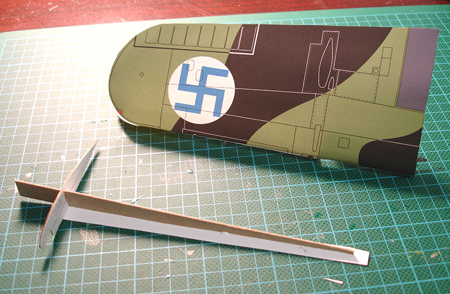
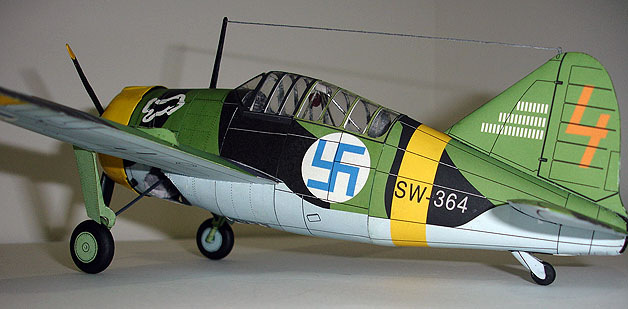
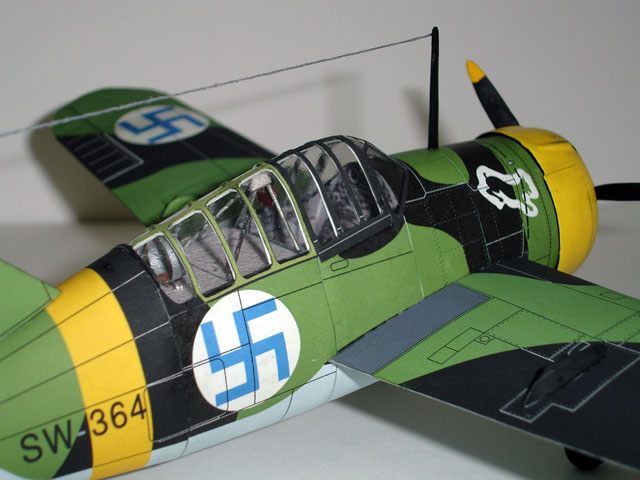
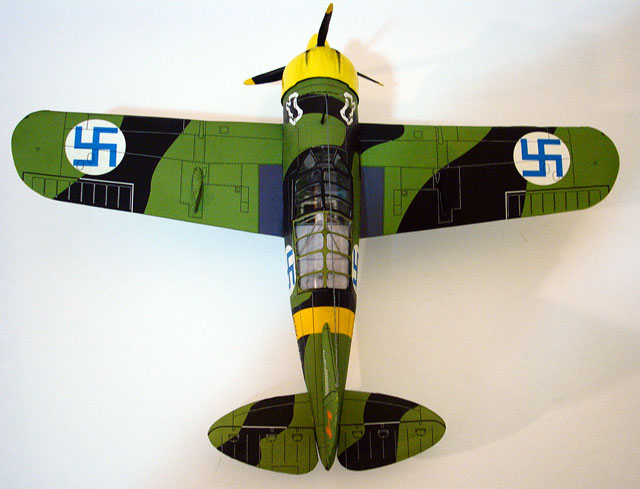
Here is picture of my work area, very messy, but powered by Guinness.

If you look at the part with the swastika on, it is missing a back part of canopy . I decided to cut this part in two and make a canopy as one piece.